
Last updated October 31, 2026
 Metal roofing
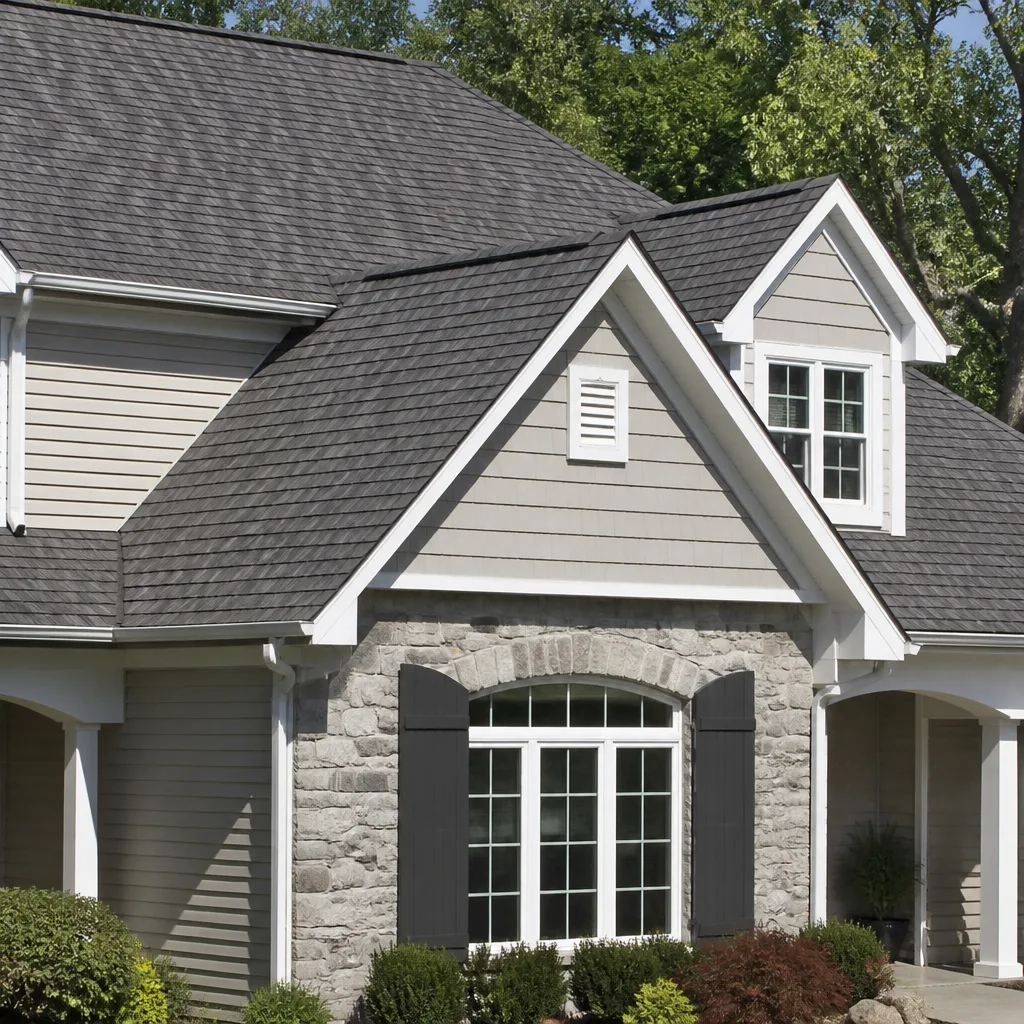 Architectural shingles
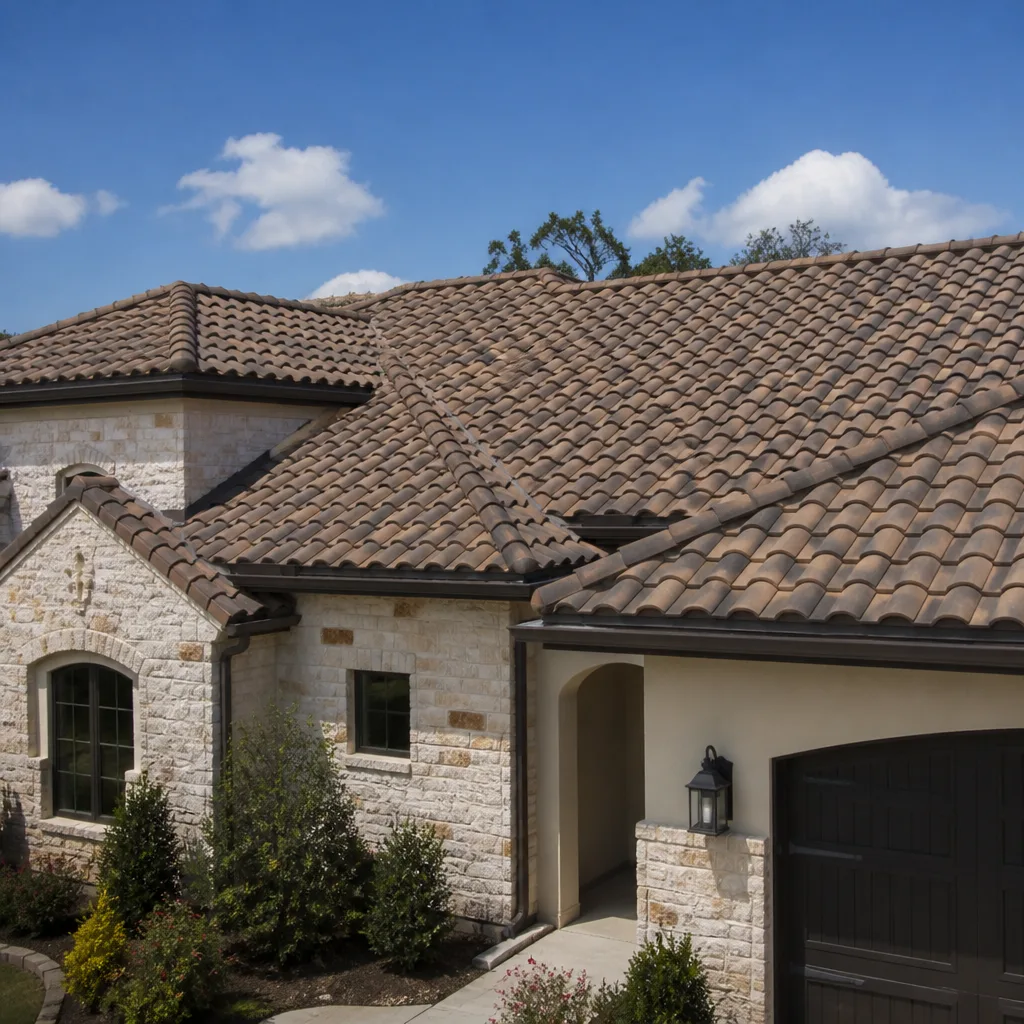 Tile roofing
 GAF
 Owens Corning
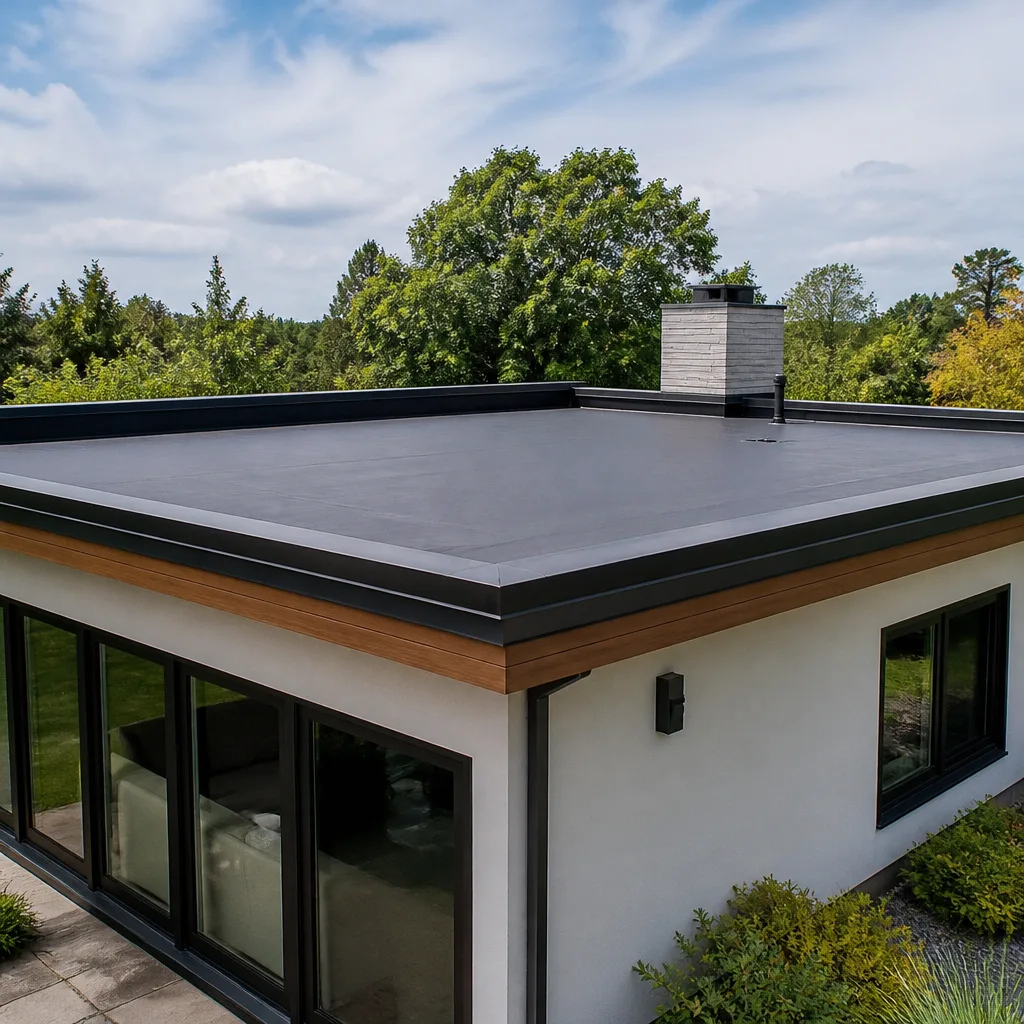 Flat & low-slope
Free roof inspection with deck photos before we talk money - GAF and Owens Corning certified installation
Roofing Emergency Preparedness Guide for Hollywood Homes
The most expensive part of a roofing emergency in Hollywood is rarely the roof itself. It’s the drywall, insulation, and flooring that get destroyed in the 72 hours between the weather event and the contractor’s arrival. Water moves fast once it finds a path, and what starts as a small breach in the roof becomes a ceiling collapse, a mold colony, and a five-figure restoration bill. This guide covers what most homeowners miss: how to prepare before the storm, how to respond in the first hour, and how to document everything in a way that makes your insurance claim straightforward. We’ve worked on roofs across Hollywood long enough to know that the homeowners who fare best aren’t the ones with the newest roof. They’re the ones who had a plan.
Quick Answer
Roofing emergency preparedness in Hollywood means three things: sealing active breaches from inside the attic using the right tarp-and-tape protocol, having a pre-season emergency kit staged before October when Santa Ana winds arrive, and documenting damage correctly in the first 24 hours to protect your insurance claim. The secondary damage that follows a roof breach, not the breach itself, is what turns a $400 repair into a $12,000 restoration. Prepared homeowners stop that secondary damage before it starts.
Styles & brands we work with
Table of Contents
- Hollywood’s Roofing Risk Profile: Three Predictable Emergencies
- The Pre-Season Emergency Kit for Hollywood Homes
- The First Hour: Sealing an Active Breach From Inside the Attic
- Documenting Storm and Wind Damage in the First 24 Hours
- Wildfire Ember Intrusion: The Vulnerability Most Homeowners Miss
- How to Read a Contractor’s Emergency Response Capacity
- Common Mistakes to Avoid
- When to Call a Professional
- Frequently Asked Questions
Hollywood’s Roofing Risk Profile: Three Predictable Emergencies
Hollywood sits in a unique weather corridor. We’re far enough inland to avoid the worst coastal fog, but close enough to the Santa Monica Mountains to catch serious wind. We’re surrounded by chaparral that burns, and we sit at the base of hills that channel water downhill fast. Three roofing emergencies repeat here with enough regularity that a homeowner can prepare for them the way they’d prepare for an earthquake: with a kit, a plan, and the right phone numbers saved.
Santa Ana Wind Damage
Between October and February, Santa Ana winds rip through Hollywood with gusts that regularly exceed 50 mph, and in the hills, 70 mph isn’t unusual. These winds don’t just blow rain sideways. They lift shingles, tear flashing, and pry up ridge vents. The damage pattern is predictable: west-facing and ridge-exposed roof planes take the worst of it. In our experience, the homes in the Hollywood Hills and Beachwood Canyon neighborhoods see the most wind-related callouts, though flat-roofed Spanish-style homes in the flats get damaged too, particularly around parapet walls and scuppers.
What catches homeowners off guard is that wind damage often doesn’t leak immediately. A lifted shingle or cracked flashing might hold for weeks, then fail during the first real rain. That’s why a post-wind inspection matters even when everything looks fine from the street. If you see shingles in your yard or granules collecting in your gutters after a wind event, the roof took damage. Whether it’s leaking yet is a different question.
Post-Wildfire Ash and Ember Intrusion
Hollywood’s wildfire risk is not hypothetical. The hills above the Hollywood Sign have burned multiple times in recent decades, and embers from those fires travel miles. What many homeowners don’t realize is that a fire doesn’t need to reach your street to damage your roof. Embers, some the size of a golf ball, ride the wind and land on rooftops blocks or even miles from the fire line. If they land on a damaged ridge vent, an unsealed roof-to-wall intersection, or a deteriorated shingle edge, they can smolder and ignite.
Preparedness here means two things: first, knowing your roof’s ember vulnerability before fire season starts, and second, keeping your roof and gutters clear of dry debris that embers can ignite. More on ember-specific assessment below, but the short version is that a roof inspection focused on ember intrusion points is different from a standard leak inspection. It looks at ridge vents, roof valleys, and the gaps where roof meets wall or chimney. Those are the ember landing zones.
Flash-Flood Drain Overflow
When a winter storm drops two inches of rain in an hour, Hollywood’s drains and scuppers get overwhelmed fast. Flat-roofed homes are particularly vulnerable: the roof is designed to shed water through scuppers or internal drains, and when those clog with leaves, tarps, or debris, water ponds. Ponding water finds every crack and seam. On sloped roofs, clogged valley flashings back water up under the shingles, and that water travels sideways into the attic before it ever shows up as a ceiling stain.
The prevention here is unglamorous but effective: keep your roof surface clear of debris, and know where your drains and scuppers are. If you can’t see them from the ground, take a photo of the roof after a rain. If water is ponding anywhere 48 hours after the rain stops, you have a drainage problem that will turn into a roof emergency during the next heavy storm.
The Pre-Season Emergency Kit for Hollywood Homes
Every Hollywood homeowner should have a roofing emergency kit staged and ready before October. This isn’t a hypothetical exercise. The kits we recommend aren’t expensive, and most of what’s in them costs less than a dinner out. The value is in having everything in one place when it’s 2 a.m. and water is coming through the ceiling. Here’s what belongs in the kit.
Materials and Tools
- A heavy-duty tarp, at least 12×16 feet. The key specification is weight and waterproofing. Look for a tarp with a denier rating of 10 or higher, preferably with reinforced grommets every 18 inches. A $20 blue tarp from the hardware store works in a pinch, but a heavier silver or white tarp holds up better in Santa Ana winds. We recommend keeping at least two on hand; one breach is rarely the only breach.
- Two rolls of 3-inch wide waterproof tape. Look for a tape rated for exterior use and extreme temperatures. The closure system that works best from inside the attic is a compression sandwich, not just tape alone, and we cover that in the next section. Two rolls means you won’t run out mid-job when the rain is still coming down.
- A box of 1.5-inch roofing nails and a hammer. For securing tarp edges to the roof deck from below. You want galvanized nails; they don’t rust and they hold better in damp wood.
- Two 2×4 boards, cut to 4-foot lengths. These create the compression edge that locks the tarp against the roof deck. A 2×4 alone doesn’t do it; you need the tarp, then the 2×4, then the nail through both.
- A utility knife with a couple of spare blades. For cutting tarp to size in tight attic spaces.
- A headlamp or flashlight that doesn’t require a hand. Attics are dark, and you’ll need both hands for the work. A headlamp is the single most useful item in the kit.
Documentation and Contacts
- A phone charger or spare battery. You’ll be taking photos, making calls, and looking up information. A dead phone mid-emergency is a preventable problem.
- Your insurance policy’s claims phone number, written down on paper. Not just saved in your phone. Phones die, get wet, or get left somewhere. Paper survives.
- A roofing contractor’s phone number, also on paper. If you have a relationship with a roofer from a previous Roof Inspection in Hollywood, that’s the number to stage. You want someone who already knows your roof, not a cold call under pressure.
- A waterproof notepad and pen. For logging times, damages, and conversations. Insurance adjusters respect documentation, and the cost is $4.
- A spare set of work gloves and a dust mask. Attic insulation is irritant and in older Hollywood homes, may contain materials you don’t want to breathe. A simple N95 mask makes the job safer and more comfortable.
Staging the Kit
Store the kit somewhere you can reach in 60 seconds. It doesn’t work if it’s buried in the back of a shed behind holiday decorations. We suggest a storage bin in the garage with the words “ROOF EMERGENCY” written on the side in permanent marker. Label it clearly enough that a neighbor could find it. The utility knife, tape, and nails go together in a smaller bag inside the bin, so you’re not sorting through loose material in the dark. If you have a two-story home with attic access in a hallway ceiling, consider keeping a smaller version of the kit on the second floor.
This kit is specific to Hollywood’s risk profile because our emergencies are wind-driven and fire-driven. In other markets, the kit would look different. Here, the tarp protocol and ember assessment matter more than snow load or ice dam prevention. Build the kit that fits the threats.
The First Hour: Sealing an Active Breach From Inside the Attic
When water is coming through the ceiling, the instinct is to run outside and try to cover the roof. That’s usually the wrong move during a storm. It’s dangerous on a wet, windy roof, and climbing a ladder in emergency conditions causes more injuries than any roofing problem. The safer, faster, and more effective fix is to seal the breach from inside the attic. This is the tarp and tape protocol that actually works. Here’s the step-by-step version.
- Find the breach before you touch anything. Go into the attic with the headlamp. Look for where water is coming through the roof deck. It will be wet, glistening, or actively dripping. Follow the water path upward to the highest point where it enters. That’s the breach. Water travels down slopes and along rafters, so the point where it enters the attic is often several feet above and to one side of where it eventually drips onto the ceiling. Don’t seal where it drips. Seal where it enters.
- Move anything below out of the way. Before you do the sealing, if there’s a ceiling fixture or vent that’s dripping, place a bucket or container under it and, if safe, turn off the power to that circuit. Water and electricity don’t mix. If the ceiling is bulging or sagging with pooled water, do not stand under it. Call a professional. A ceiling can let go without warning and release a hundred pounds of water and plaster at once.
- Cut the tarp to size, then position it. In the attic, the tarp needs to be large enough to cover the breach area plus at least 12 to 18 inches in every direction. You want the tarp against the underside of the roof deck, above the leaking point. If the breach is a large hole, you’ll see daylight or feel wind coming through. Place the tarp over that area.
- Create the compression sandwich. This is the protocol that actually stops water: tarp against the roof deck, then a 2×4 pressing the tarp edges against the nearest rafters, then nails driven through the 2×4, through the tarp, and into the rafter. The 2×4 spreads the force and keeps the tarp from tearing. Tape alone fails in the first hour. The sandwich holds. Use at least two 2x4s: one on the high side of the breach, one on the low side. If the breach is between rafters, nail the 2x4s along the rafters on either side.
- Tape the seams and edges. Once the tarp is secured with the 2x4s, run the waterproof tape along the edges of the tarp where it meets the roof deck. This catches the water that runs down the slope from above the breach. Think of it as creating a gutter that redirects water around the breach, not just sealing a hole.
- Check for secondary entry points. Water rarely comes in through one hole when a roof has wind damage. Once the primary breach is sealed, do a slow circuit of the attic with the headlamp. Look for any other wet spots, dripping, or daylight. You may find two or three breaches. Seal each one the same way. This is why the kit has two tarps and two rolls of tape.
This protocol works for small to medium breaches. If the hole is large enough to put a basketball through, if multiple rafters are broken, or if you’re looking at the sky through a hole in the roof, do not attempt to seal from below. Evacuate the attic, shut off water or power if you can safely do so, and call a roofer. The compression sandwich is for stopping water intrusion, not for structural repair.
Documenting Storm and Wind Damage in the First 24 Hours
The difference between a claim that pays out fully and a claim that gets reduced or denied often comes down to documentation taken in the first 24 hours. Insurance adjusters look for a few specific things: evidence of the cause, evidence of the damage, and evidence that you took reasonable steps to prevent further damage. The documentation method below is what we recommend to Hollywood homeowners after a wind or storm event. This applies whether you file the claim yourself or work with a contractor who assists with the process.
The Order of Photographs
- Wide exterior shots first. Stand back far enough to capture the whole roof plane that took damage. These establish context. Take them from multiple angles: from the street, from the backyard, from any upper window that looks down on the roof.
- Medium shots of the damaged area. Move closer and capture the damaged zone in one frame. If shingles are missing, photograph the area where they used to be. If flashing is bent or peeled back, photograph it in context.
- Close-up detail shots. These are the money shots. Get within a foot or two and photograph the damage from several angles. If possible, include a common object in the frame for scale: a quarter, a pencil, your hand. Adjusters can’t tell from a photo whether a hole is one inch or six inches across. A reference object solves that.
- Aerial or roof-level shots if safe. Do not climb onto a damaged roof after a storm. Use a ladder to reach a safe elevation, shoot from an upper window, or use a drone if you have one. A roof-level view reveals damage that’s invisible from the ground.
- Interior damage shots. Photograph the ceiling stain, the dripping water, the wet insulation, the drywall, anything that shows the interior impact. Start wide, then move in close. Include timestamps if your phone’s camera has that setting enabled. Most modern phones embed the date and time in the file metadata automatically.
What Not to Touch
Do not remove anything from the damaged area until your insurance company has documented the damage or authorized you to proceed. Don’t tear out wet drywall, don’t throw away damaged shingles, don’t peel back flashing to “see how bad it is.” Keep a sample or set aside anything you must remove for safety, but photograph it in place first. Adjusters need to see the original condition, not the cleaned-up version. If a tree branch fell on the roof, photograph the branch on the roof before moving it. If shingles blew off, save the ones you find in the yard. Bag them and keep them for the adjuster’s inspection.
Written Documentation
In the waterproof notepad, log the timeline. Weather event start and end time, when you first noticed the leak or damage, what steps you took and when. Note the temperature if relevant. If you have a contractor come out, log their arrival and departure times and what they did. All of this supports the claim. It also prevents the insurance company from arguing that you failed to mitigate the loss, which is the single most common reason claims get reduced. The duty to prevent further damage after an event is on the homeowner. Documenting your mitigation steps proves you met that duty.
For more on what a professional assessment looks like, our Roof Inspection in Hollywood service produces a written condition report that many homeowners submit with their insurance claims. It’s not a sales document, it’s an honest accounting of what the roof needs, and adjusters respond to documentation from a qualified roofer.
Wildfire Ember Intrusion: The Vulnerability Most Homeowners Miss
Most Hollywood homeowners assume that if a wildfire doesn’t reach their street, they’re safe. The reality is different. Embers from a hillside fire can travel one to two miles or more on the wind, and they land on roofs all over Hollywood. A roof that’s in otherwise fine condition can still be an ember intrusion risk if the right gaps exist. Here’s how to assess your roof’s vulnerability before fire season.
The Ember Intrusion Points
- Ridge vents. Every ridge vent has openings designed to ventilate the attic. When the vent’s edge seal deteriorates or the vent is loose, embers can enter. A ridge vent that’s been in place for 10 years or more is the most common ember intrusion point we find on Hollywood homes. Brands like GAF and CertainTeed make ridge vents with ember-resistant mesh, and upgrading an older ridge vent is often a one-day repair.
- Roof-to-wall intersections. Where a sloped roof meets a vertical wall, the gap is often sealed with step flashing and counter-flashing. If that flashing is loose, missing, or corroded, the gap creates a pocket where embers can lodge. In Hollywood’s older Spanish-style homes, these intersections are everywhere, and they’re a top priority for ember assessment.
- Roof valleys. Valleys collect leaves, twigs, and pine needles. If that debris is dry, it’s ember fuel. A roof valley clogged with combustible material is an ember ignition point waiting to happen. Keep valleys clear, and if you have overhanging branches that shed into the valley, have them cut back.
- Chimney and pipe penetrations. Chimneys, plumbing vents, and exhaust pipes all pass through the roof. Each one has a flashing seal, and each one is a potential gap. Embers that land at these penetrations can smolder in the flashing gap and ignite the underlying wood. Caulking and roof cement degrade in Hollywood’s UV-heavy sun, and even a small crack is enough for an ember to wedge into.
Assessing Before Fire Season
A standard leak inspection looks for water intrusion points. An ember assessment looks for ignition points. They overlap, but they’re not the same. We recommend Hollywood homeowners schedule a Roof Inspection in Hollywood in late summer or early fall, before fire season peaks, with the specific request to evaluate ember intrusion risks. That means checking ridge vents for missing or damaged mesh, examining flashing gaps for accumulated debris, and clearing valleys and gutters of dry material.
Some roof coverings also perform better than others in ember conditions. Atlas and Owens Corning both make asphalt shingles with dedicated fire-resistant layers. Boral manufactures a line of roof tiles rated for severe fire zones, and we install it regularly on homes in the hills. The right material choice for an ember-prone home depends on the roof’s slope, the surrounding vegetation, and the homeowner’s budget. We guide that decision based on the home’s actual exposure.
How to Read a Contractor’s Emergency Response Capacity
Every roofer in Hollywood will tell you they handle emergencies. Very few of them can actually mobilize quickly when a storm hits. The difference between the two isn’t availability, it’s logistics and honesty. Here’s how to evaluate a contractor’s emergency response capacity before you need it, so you’re not making that decision at 2 a.m. under pressure.
What Real Response Capacity Looks Like
- Materials staged, not just available. A contractor who can respond to an emergency has tarps, underlayment, and common shingle colors physically in stock or in a local supplier queue. “We can order that” is not emergency response. Ask directly: “What do you have on hand?” A roofer who can’t answer that question doesn’t have a real emergency program.
- Crews identified, not just promised. Some roofing companies sell emergency work and then scramble to find crews later. A real emergency program has a designated crew or on-call rotation. Ask “Who specifically would come out?” and “What’s their typical response time after you dispatch them?” If the answer is vague, that’s your answer.
- A documented triage process. When twenty homeowners call after a storm, who gets priority? A good contractor triages by structural risk and water intrusion severity: active ceiling collapse risks first, then active leaks, then pending damage. There’s a system. A contractor who says “we’ll get to everyone as fast as we can” doesn’t have a system, and the homeowner with the most dramatic voicemail gets priority, not the one who needs it most.
- Honesty about what a “free estimate” means during an emergency. During a citywide storm response, a contractor who promises free estimates for every caller is either lying or will take weeks to show up. Realistic contractors prioritize active emergencies and tell you honestly what the response window looks like. A company that tells you “someone will be there in an hour” when forty other homes have the same problem is making a promise they can’t keep, and that’s a warning sign.
Questions to Ask Before You’re in an Emergency
- What materials do you keep in stock for emergency repairs?
- Who specifically would respond to my call, and what’s their typical arrival window after a storm?
- What does your triage process look like when demand spikes?
- Do you provide a written condition report after an emergency repair, or just a verbal summary?
- What insurance documentation does your team provide after a repair?
We’ve been on the responding side of enough Hollywood storms to know what honest capacity looks like. We stock common emergency materials, we have crews identified for storm response, and we tell homeowners the truth about when we can get there. That sometimes means saying “tomorrow morning” rather than “right away.” Homeowners deserve the accurate answer, not the flattering one. If you’d like to establish a relationship before the next storm, a Roof Inspection in Hollywood is the way to start. You’ll know your roof’s condition, and you’ll have a contact ready when you need it.
Common Mistakes to Avoid
- Climbing onto a wet roof during or immediately after a storm. More homeowners are injured trying to tarp a roof from the outside than by any roofing condition. The inside-the-attic protocol exists for a reason. Wet shingles are slippery, winds are unpredictable, and a fall from a roof is a life-threatening event. Stay off the roof.
- Using tape alone to seal an interior breach. Tape without the 2×4 compression sandwich will fail within hours as water weight and attic humidity weaken the adhesive. The tarp edges must be mechanically secured. Tape is the secondary seal, not the primary one.
- Waiting for the insurance adjuster to arrive before sealing the breach. Your policy requires you to mitigate further damage immediately. Waiting for permission to act is the fastest way to have a claim reduced. Document, seal, then file. In that order.
- Throwing away damaged materials before documenting them. Torn shingles, wet drywall pieces, and bent flashing are evidence. If you discard them before the adjuster sees them, you’re discarding your claim’s proof. Document in place, then bag and save samples.
- Ignoring a “small” leak because it’s not actively dripping. A water stain that appears and then dries doesn’t mean the problem resolved itself. It means the water path is intermittent. The next rain delivers more water through the same opening, and the damage compounds. Small leaks become ceiling collapses on a long enough timeline.
- Choosing a contractor based solely on who answers the phone fastest. Speed of response is one data point, not the full picture. A contractor who picks up on the first ring but can’t tell you what materials they have on hand isn’t prepared to help. Competence matters more than availability.
- Not keeping your gutters and roof clear of debris in wildfire season. Dry leaves and pine needles on your roof or in your gutters are ember fuel. The most expensive roofing emergency is the one that could have been prevented with a ladder and thirty minutes of clearing, or a routine Roof Inspection in Hollywood that catches the vulnerability before fire season peaks.
When to Call a Professional
Some roof conditions are homeowner-manageable: a small breach sealed from the attic, a photo documented leak, a cleared clogged drain. Other conditions require a trained roofer, and need to be made quickly. Call a professional if the ceiling is sagging or bulging with pooled water, if multiple rafters are cracked or broken, if the breach is larger than a basketball, or if you find daylight through the roof deck. Also call if the attic shows signs of structural movement: cracked joists, shifted supports, or a roof plane that looks uneven from the ground. These are not tarp-and-tape situations.
If you’re in Hollywood and you’re not sure which category you’re in, call us. We’ll walk through what you’re seeing and give you a straight answer about whether it’s an emergency or a repair that can wait a day. Hollywood Roofing Co offers free estimates in Hollywood, call (833) 589-7971. Our team handles the full Roof Repair in Hollywood spectrum, from emergency sealing to permanent fixes, and if your roof has reached the end of its life, we can talk through Roof Replacement in Hollywood options matched to your home and budget.
Frequently Asked Questions
Emergency roof repair in Hollywood typically costs between $350 and $900 for a tarp-and-seal response and between $800 and $2,500 for a permanent repair, depending on the extent of the damage and the roofing material. The cost depends on whether the repair is a simple shingle replacement or involves flashing, underlayment, or structural work. The most expensive choice is delaying the repair: secondary water damage to drywall, insulation, and flooring adds thousands. Call (833) 589-7971 for an exact quote; estimates are free.
Most homeowner’s policies in Hollywood cover sudden storm damage, including wind-lifted shingles and water intrusion from a storm-created breach. Coverage depends on your policy’s specifics: some have separate wind deductibles, and pre-existing damage or lack of maintenance is typically excluded. The key to a successful claim is documentation: photograph the damage immediately, seal the breach to mitigate further loss, and save all samples of damaged materials. Our written condition reports from a Roof Inspection in Hollywood are commonly submitted with claims as third-party documentation.
In most cases, yes, we can seal an active leak the same day you call, especially during business hours on weekdays. During a citywide storm event when dozens of Hollywood homes experience damage at once, same-day response may not be possible for every caller, and we prioritize by severity: ceiling collapse risks first, then active leaks, then pending damage. If we can’t get to you the same day, we’ll tell you that honestly and give you the attic-sealing guidance to protect your home in the meantime. Call (833) 589-7971 and we’ll give you an accurate response window.
Ember intrusion risk exists where the roof has gaps that embers can enter: damaged ridge vents, loose flashing at roof-to-wall intersections, clogged valleys with dry debris, and deteriorated seals at chimney and pipe penetrations. A visual inspection from the ground can’t assess these points; they require an attic-level and roof-level look. We recommend a Roof Inspection in Hollywood focused on ember intrusion points in late summer or early fall, before fire season peaks. We’ll identify the specific gaps and recommend whether repair or replacement of the vulnerable components is needed.
In most cases, no. A pre-storm tarp can actually create more problems than it prevents: tarps can lift in wind and damage shingles, they trap moisture against the roof surface, and a poorly secured tarp becomes a projectile in Santa Ana conditions. The exception is a known active breach that can’t be repaired before the storm arrives, in which case a temporary tarp installed by a professional is the right call. If you know your roof is vulnerable, the better preparation is a permanent repair before the storm season starts.
For Hollywood’s combination of UV exposure, Santa Ana winds, and wildfire adjacency, we typically recommend premium architectural asphalt shingles from GAF or CertainTeed for most homes, and Boral’s fire-rated tile for hillside homes in severe fire zones. Atlas and Tamko offer strong options at value price points for homeowners balancing cost and performance. The right choice depends on your roof’s slope, your home’s exposure, and your budget. We install all seven leading brands specifically so the recommendation is driven by your home, not by a supplier relationship. Call (833) 589-7971 for a material-matched recommendation.
The Bottom Line
Roofing emergencies in Hollywood follow patterns. Santa Ana winds lift shingles between October and February. Wildfire embers find gaps in ridge vents and flashing from late summer through fall. Flash floods overwhelm scuppers and drains in winter. The homeowners who prepare for these predictable events, with a staged kit, a documented inspection history, and a contractor relationship, spend less and recover faster than those who react in the moment. The 72 hours after a breach is when secondary damage compounds, and that window is entirely within your control. Preparation isn’t about eliminating roof emergencies. It’s about making them manageable.
Written by the team at Hollywood Roofing Co, serving Hollywood since 2016. We provide Hollywood Roofing Co home services across the full roofing lifecycle: inspection, repair, and replacement.
See the difference
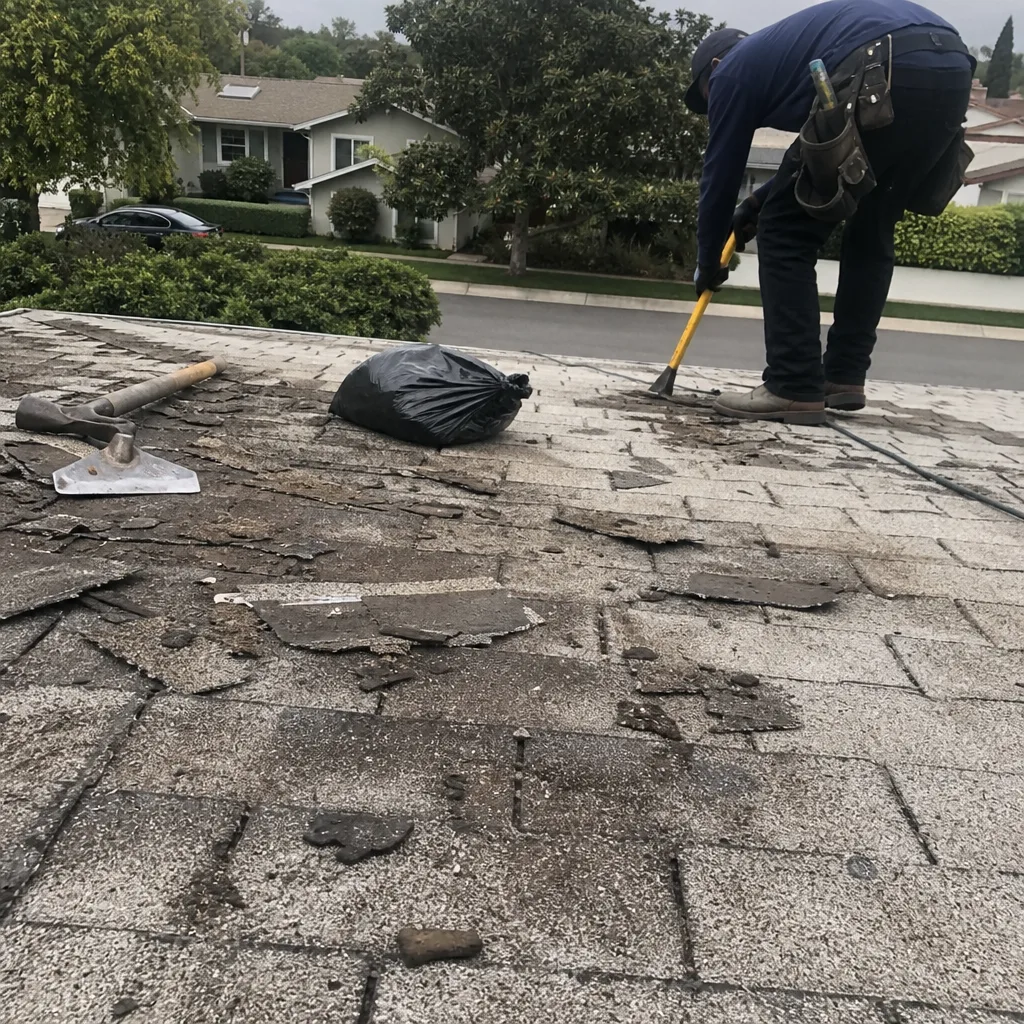 Before
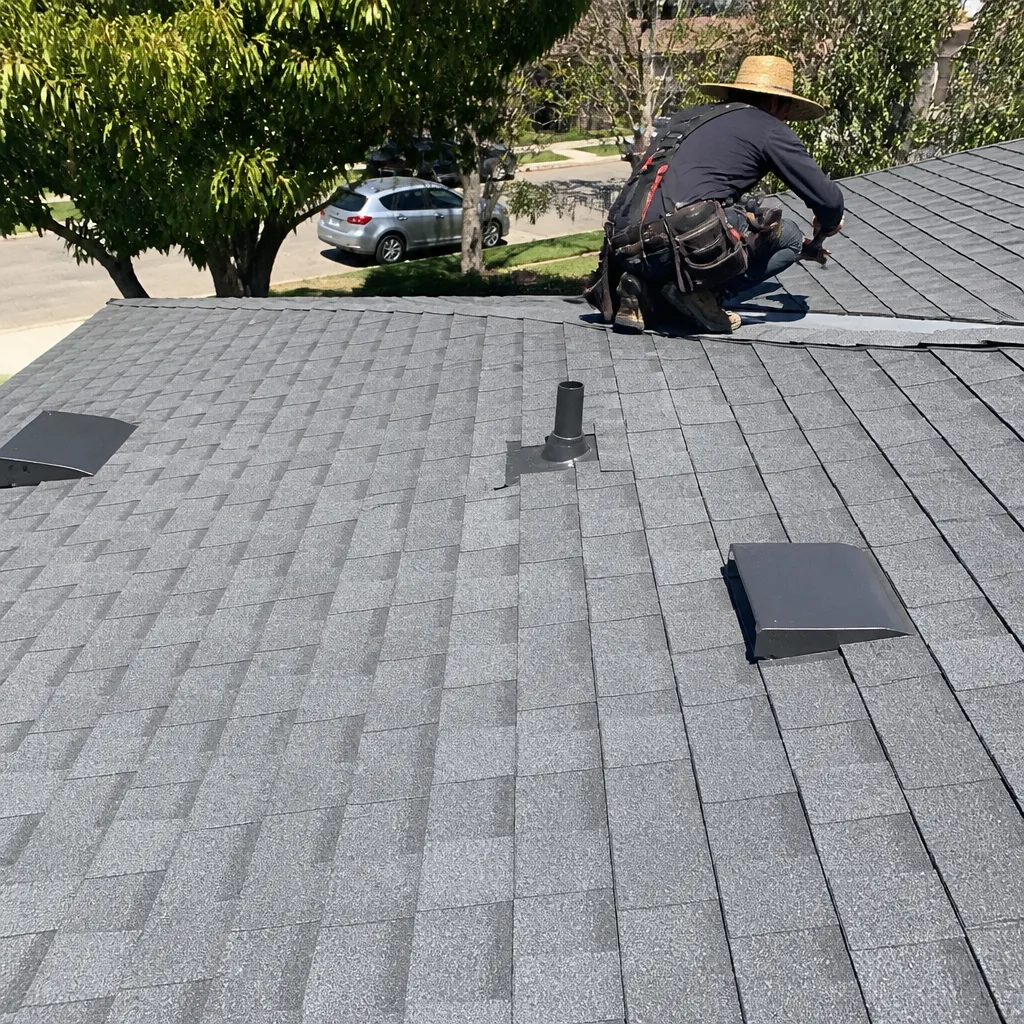 After
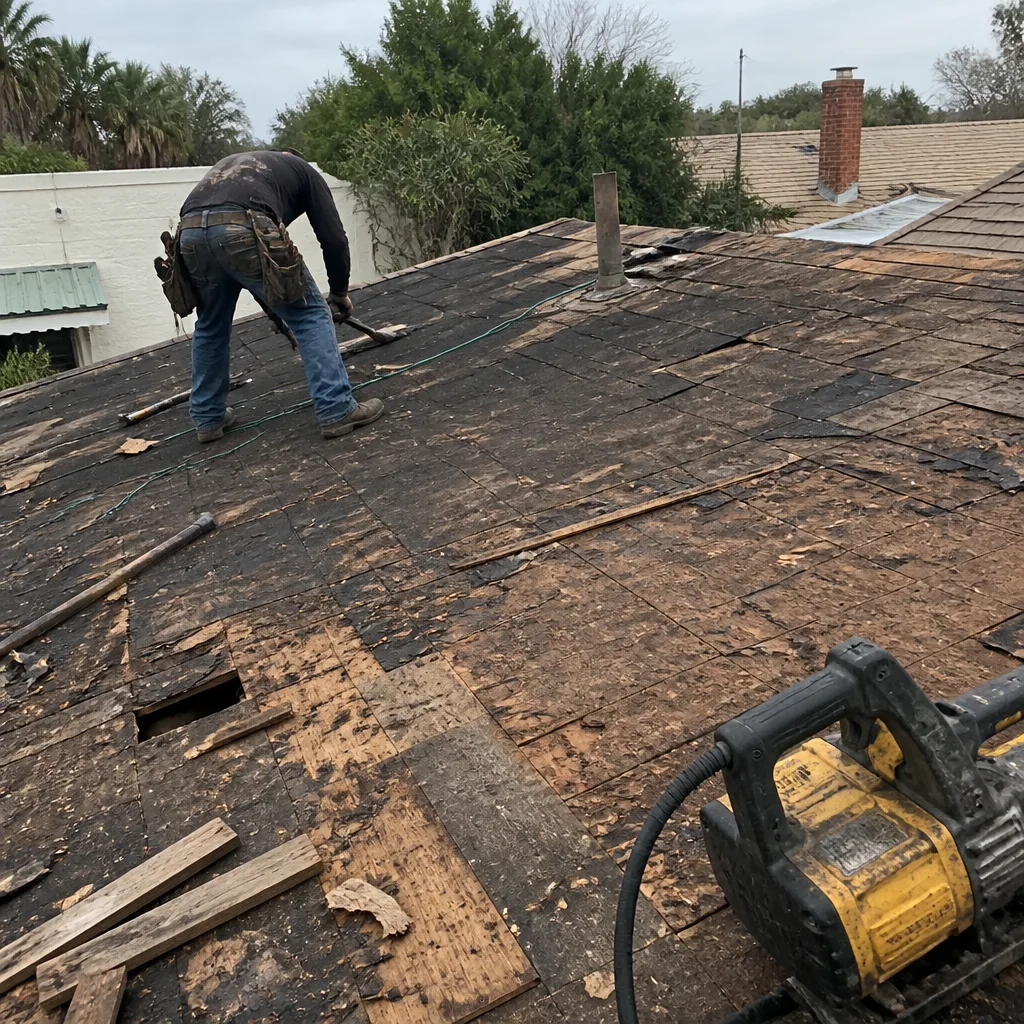 Before
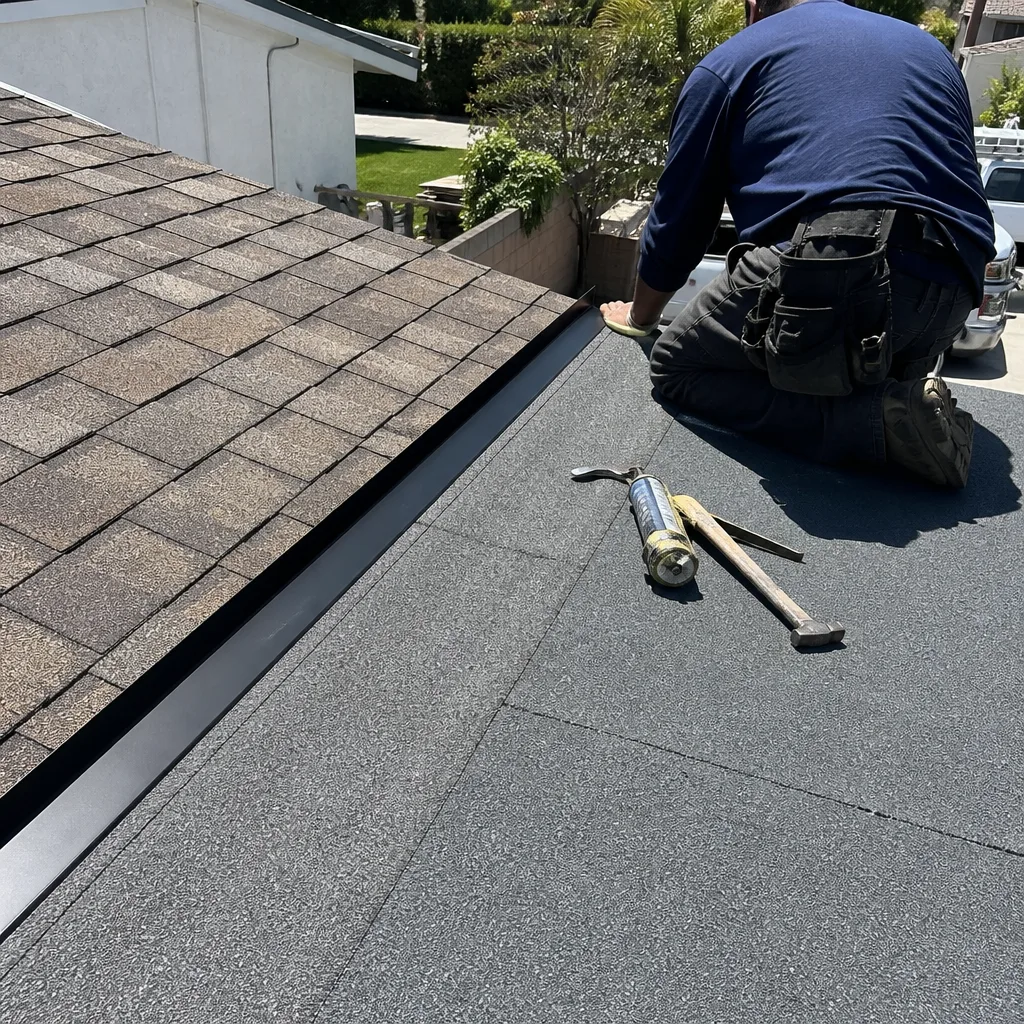 After
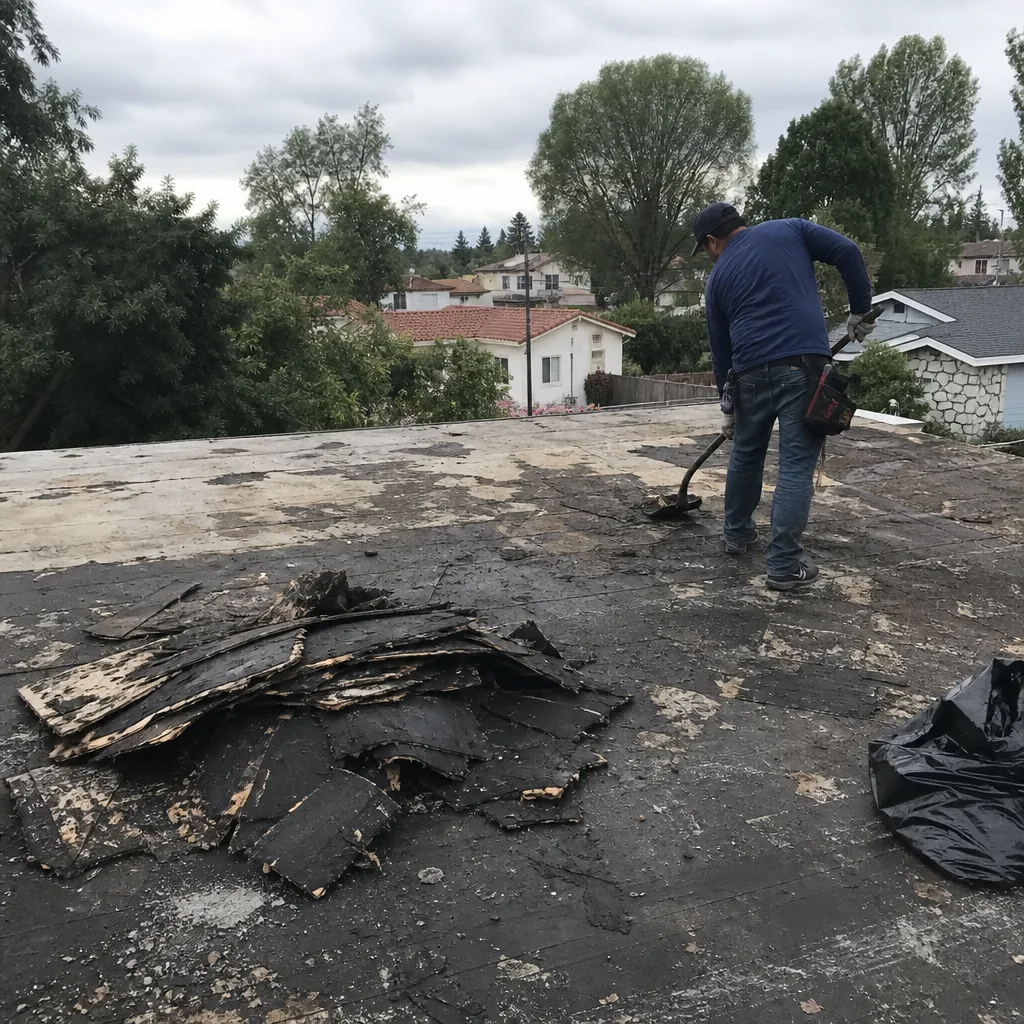 Before
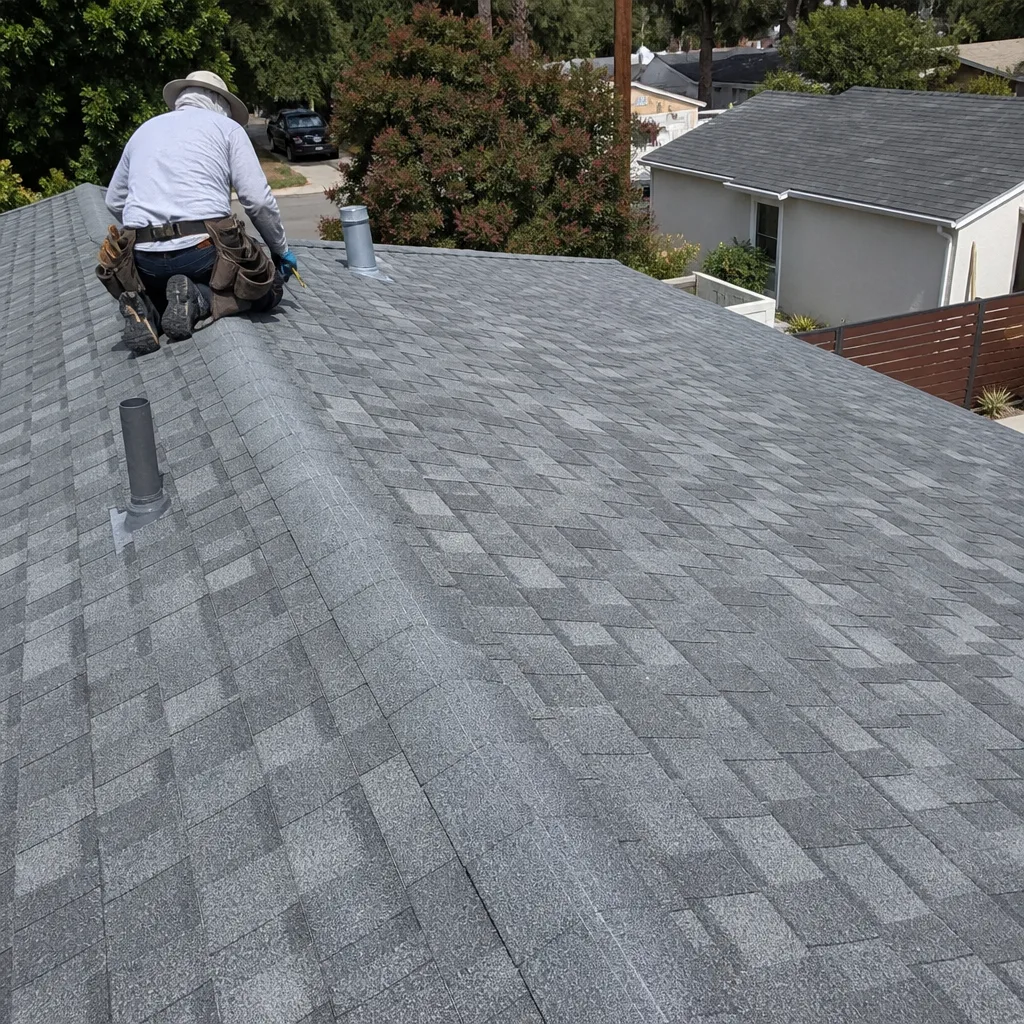 After